First of all, welcome to your brand new Wordpond publication!
Teams that have transformed their publications have done these steps after creating their Wordpond account.
Step 1: Add your branding
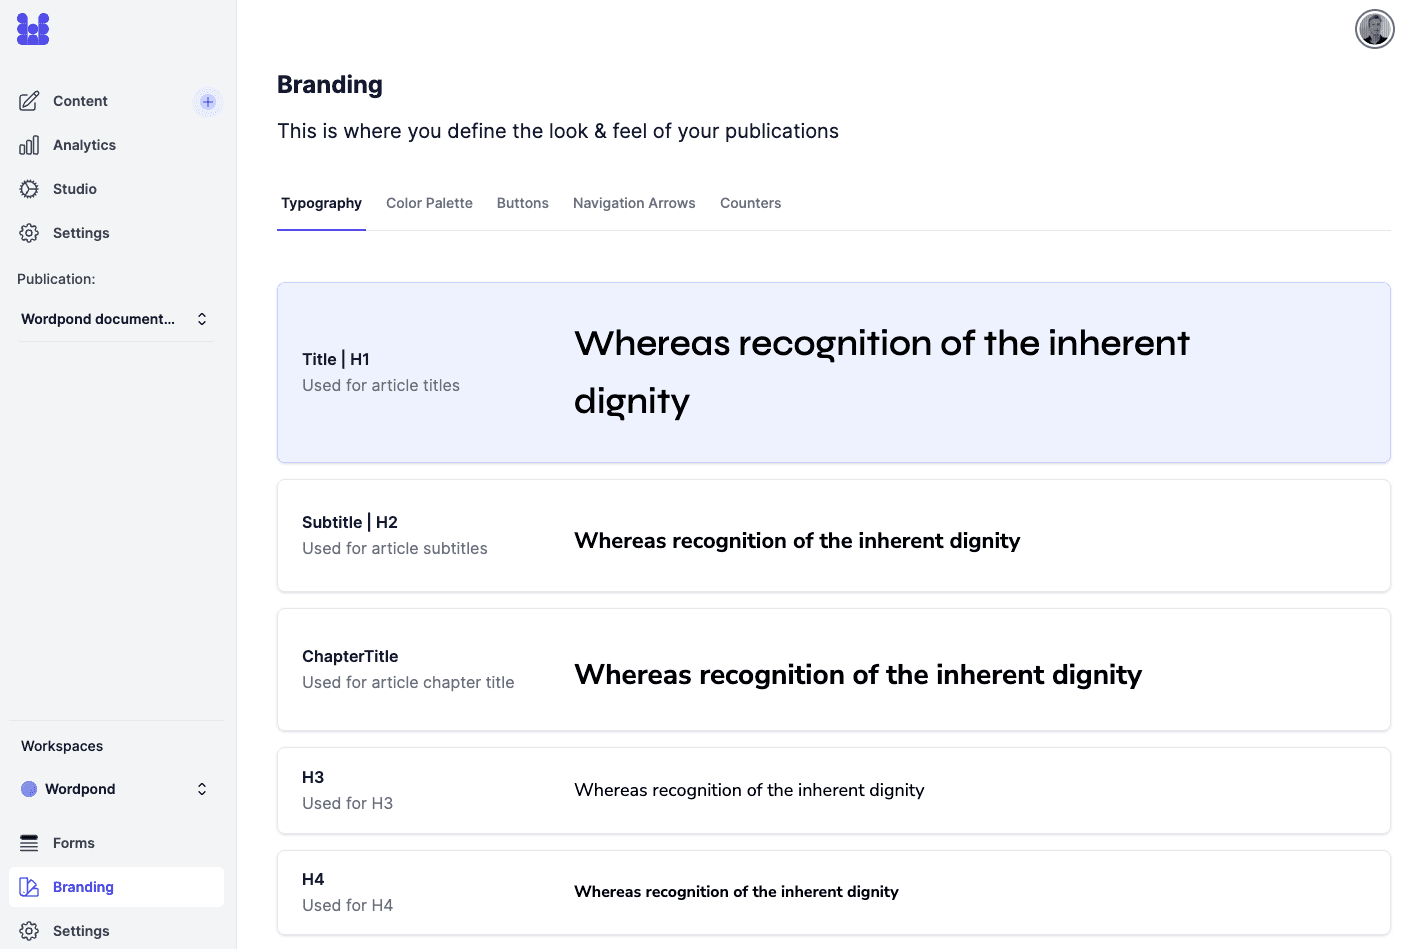
We have shared settings for all your publications in your branding settings.

Branding Settings
These include:
- typography
- color palette
- Some other items that you can use throughout your publications, such as defining styles for:
- buttons
- navigation arrows
- counters
You can dive in and customize your branding or return to it later.
Step 2: Set up your publication
Before we go any further, we need to define the type of publication we want to produce.
Important: Select publication with or without issues
By default, Wordpond will have created a publication for you. We have two types of publications in Wordpond: with issues (like magazines) and without issues.
The auto-created publication is a publication without issues. These two types are not interchangeable. If you want a publication with issues, now is the time to go and create it before continuing.
Read more about this here.
Now, let's move on and start customizing your publication. You can make all these changes now or just have a look for now and get back to it later.
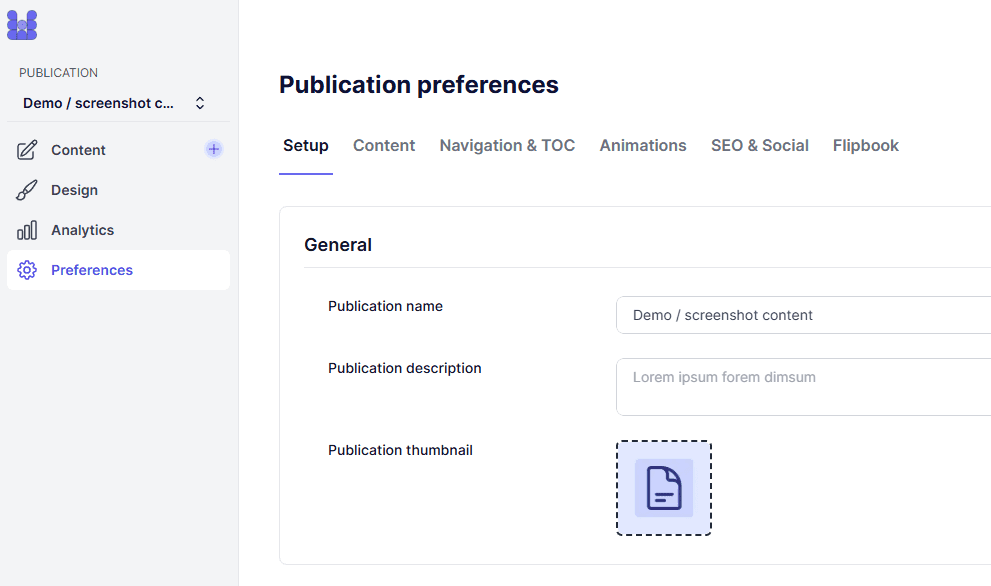
Head over to 'Settings' under the Publication.

Publication preferences
In the 'General' tab, you will be able to:
- add a name, description, and thumbnail for your publication
- set up a custom domain
In the 'Content' tab, you will be able to add some behavior to your publication that is unique to Wordpond:
- have the articles displayed by publication date, or define the order manually
- add chapters to your publication
- add a selection of navigation options:
- arrows to scroll to the top of the current page or to move to the previous and next pages
- links to previous and next pages, placed at the bottom of every article
- a 'read more' overview, placed at the bottom of every article
Step 3: Have a look inside our Studio
The studio offers a robust environment to customize re-usable assets (blocks) to use within your publication.
Click on the Design navigation tab on the navigation panel.

Publication Design Studio
In the Design area, you will find tools to define:
- default layouts
- headers and footers
- hero sections
- animations
- social sharing
- quote blocks
- author blocks
Step 4: Start creating!
Time to get started! Don't worry if you have yet to look at all of the abovementioned options. You can always tweak these settings and expand upon your brand later.
The most important thing right now is to start creating some content.
So let's move on to the next topic - How to publish your first article.